A password you type over SSH is a password a bot can guess. Internet-facing servers absorb automated login attempts around the clock, and each attempt is a free shot at a weak or reused password. An SSH key pair changes that: the server holds only your public key, useless on its own, while the private key never leaves your machine.
This guide covers the whole setup, from generating your first key to proving the key login works before switching password logins off. Tested on Ubuntu 24.04 with OpenSSH 9.6p1; the commands work the same on Debian, Fedora, and Arch, since all of them ship OpenSSH.
Before you start
You need a Linux machine you control, a server you can already reach with SSH using a password, and a user account on that server. Keep your current SSH session open while you work: that open session is your safety net if a configuration change goes wrong.
Use one key pair per device. Your laptop gets its own key and your desktop gets its own key, so losing or retiring a device means revoking just that key on the server. Sharing one private key across machines defeats the point.
Step 1: Generate an Ed25519 key pair
On your local machine, not on the server, run:
ssh-keygen -t ed25519 -C "[email protected]"The -t ed25519 flag picks the key type. Ed25519 keys are short, fast, and strong without the bulk of an RSA key. The -C comment is just a label, usually your email address, so you can tell keys apart later. It is not a secret and it does not affect security.
ssh-keygen asks where to save the key. Accept the default, ~/.ssh/id_ed25519, unless you already have a key there, in which case give the new one a distinct name with -f, for example ~/.ssh/id_ed25519_vps. Overwriting an existing key breaks every login that key was used for, so never accept a prompt to overwrite without checking first.
Next it asks for a passphrase. Use one: a passphrase encrypts the private key on disk, so a stolen laptop does not automatically mean stolen server access. It differs from your server password, and an SSH agent (covered below) can remember it for the session. An empty passphrase is convenient and completely unprotected, so reserve it for throwaway test machines, never for a production server.
The command creates two files: ~/.ssh/id_ed25519, your private key, which you never copy, email, or paste anywhere, and ~/.ssh/id_ed25519.pub, your public key, which is the one that goes on servers. Check the result with:
ls -l ~/.ssh/
ssh-keygen -l -f ~/.ssh/id_ed25519.pub
The fingerprint line confirms the key type. A test key generated for this guide produced exactly this output:
256 SHA256:SuCWChYUaUFmup/BEUXdMiy85/Fnbtf53rh6to0ysnY [email protected] (ED25519)The private key must be readable only by you; if ls shows anything more permissive, fix it with chmod 600 ~/.ssh/id_ed25519.
Step 2: Copy the public key to the server
The simplest tool for this job is ssh-copy-id: it appends your public key to the server's ~/.ssh/authorized_keys file and sets sane permissions on it:
ssh-copy-id user@your-serverReplace user with your server username and your-server with its hostname or IP address. The tool asks for your server password one last time, then reports the key it installed. If you generated a named key instead of the default, point at it explicitly:
ssh-copy-id -i ~/.ssh/id_ed25519_vps.pub user@your-serverIf ssh-copy-id is not available, the manual equivalent is short, and it is exactly what the tool does under the hood:
cat ~/.ssh/id_ed25519.pub | ssh user@your-server "mkdir -p ~/.ssh && cat >> ~/.ssh/authorized_keys && chmod 700 ~/.ssh && chmod 600 ~/.ssh/authorized_keys"Two permission numbers do most of the troubleshooting here. The .ssh directory must be 700 and authorized_keys must be 600. SSH refuses keys when these are too open, and that refusal is quiet enough to confuse people for an afternoon. If a key login fails, check those permissions on the server before anything else.
Step 3: Test the key login, and prove it
Log in normally:
ssh user@your-serverIf you set a passphrase, you will be asked for it, not for the server password. That distinction is the test. To be rigorous, force a key-only attempt in a second terminal window:
ssh -o PasswordAuthentication=no user@your-serverIf that connects, your key works. If it fails, run ssh -v user@your-server and look for lines about offering the public key and whether the server accepted it. The usual culprits, in order, are: wrong key file, wrong username, wrong server, and the permission problem from Step 2.
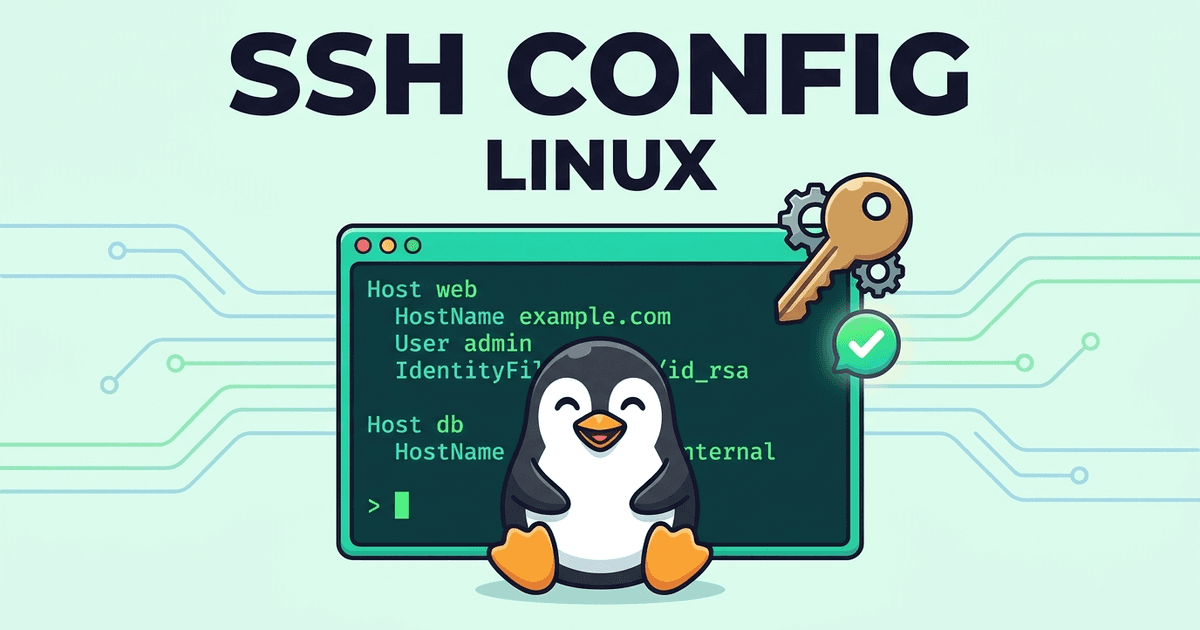
If you juggle several servers, stop passing -i every time and write a ~/.ssh/config entry instead:
Host vps
    HostName your-server
    User user
    IdentityFile ~/.ssh/id_ed25519_vps
After that, ssh vps is the whole command, and the config file itself should be chmod 600 ~/.ssh/config.
Typing a passphrase on every connection gets old fast, so use the SSH agent: run ssh-add ~/.ssh/id_ed25519 once per local session, type the passphrase once, and the agent serves it for later connections until you log out. If ssh-add complains about a missing agent, start one with eval $(ssh-agent) first.
Step 4: Switch password logins off, safely
Do this step only after Step 3 proves key login works, and only with your original session still open. On the server, edit the SSH daemon configuration:
sudo nano /etc/ssh/sshd_configFind and set these lines (add them if they are commented out with a #):
PasswordAuthentication no
KbdInteractiveAuthentication no
Reload the daemon so it picks up the change without dropping existing sessions. On some distributions the service is named ssh rather than sshd; if reload sshd reports no such unit, use sudo systemctl reload ssh:
sudo systemctl reload sshdThen, from a new terminal window, log in again and confirm the key still works. If it does not, your old session is still there to revert the two lines and reload again. Never close every session before the new login is proven.
For a broader hardening pass, the next stops are a firewall and a VPN for admin access. The SSH hardening audit walks through the full checklist, the UFW setup guide covers the firewall side, and the WireGuard server guide shows how to put admin access behind a private tunnel.
Common mistakes that break key logins
Copying the private key to the server. The .pub file goes on the server. The private key stays on the device that generated it. If a private key ever ends up on a server, in a chat message, or in a repository, generate a fresh pair and revoke the exposed one.
Mangling a line in authorized_keys. Each public key is a single long line. A break in the middle or a stray space silently invalidates that key. Paste carefully, and back the file up before editing: cp ~/.ssh/authorized_keys ~/.ssh/authorized_keys.bak.
Locking yourself out. Disabling password authentication before a key login is proven is the classic self-inflicted outage, and the fix is slow console access through your VPS provider. Prove first, disable second, and keep one session open throughout.
What about old servers and RSA?
Some very old systems do not speak Ed25519. If the server rejects an Ed25519 key, fall back to RSA with a 4096-bit key:
ssh-keygen -t rsa -b 4096 -C "[email protected]"Everything else stays the same: copy the .pub file, test with password authentication disabled, then switch passwords off. RSA-4096 is slower and bulkier, but a key login with a passphrase still beats any password. For any server running a supported OpenSSH version, Ed25519 is the better default.
Verify it worked
You are finished when all four of these are true:
ssh -o PasswordAuthentication=no user@your-serverconnects.- A fresh session after reloading
sshdstill connects. PasswordAuthentication nois set in/etc/ssh/sshd_config.- Your private key exists only on your own device, with
600permissions.
That is the whole setup: one key pair, one copy step, one proven login, and passwords out of the SSH path for good. It saves a password prompt on every login after that, while closing the easiest door bots knock on.
Sources
- OpenSSH manual: ssh-keygen(1)
- OpenSSH manual: ssh-copy-id(1)
- OpenSSH manual: sshd_config(5)
- OpenSSH manual: ssh(1)